A properly configured network is the backbone of any modern business. It ensures seamless communication, efficient data transfer, and reliable access to critical resources. We specialize in Wi-Fi Router and Switch Installation & Configuration.
By ensuring your core network components are expertly installed and configured, we lay the foundation for a stable, secure, and high-performing network environment.
Wi-Fi Router Switch Installation & Configuration
In today’s interconnected world, a robust and reliable network is crucial for both home and business. Whether you’re setting up a smart home, ensuring seamless video conferencing, or deploying a sophisticated surveillance system, a well-configured network is the foundation.
We’re here to guide you through the essential steps of Wi-Fi router switch installation and configuration.
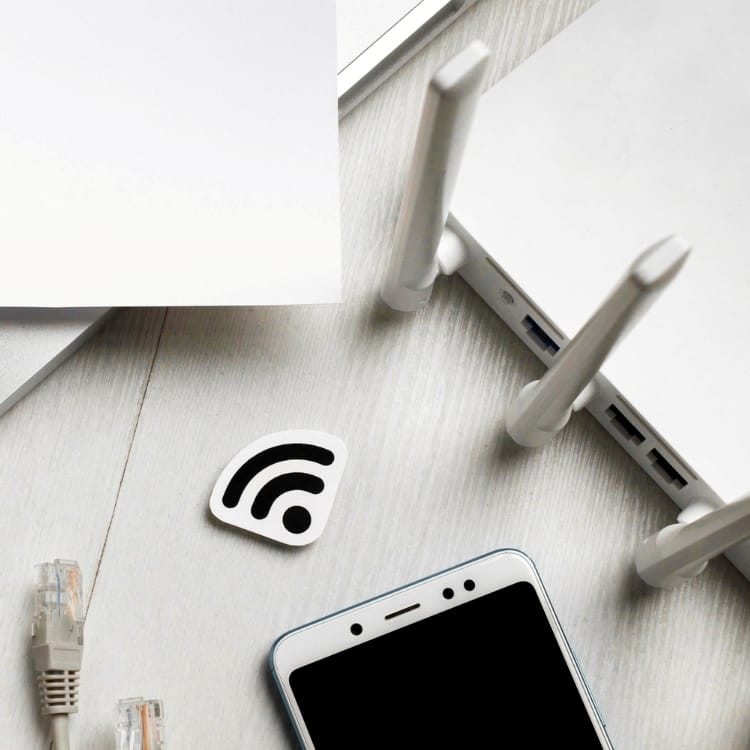
Wi-Fi Router Switch Installation
Before diving into the configuration, let’s tackle the physical installation. This critical step ensures your devices are properly connected and ready to be configured. Here’s a breakdown of the process:
- Unboxing and Inventory: Carefully unpack your Wi-Fi router and network switch. Ensure you have all necessary components, including power adapters, Ethernet cables, and any included documentation.
- Placement Matters: Choose a central location for your Wi-Fi router to maximize coverage. Avoid obstacles like thick walls and metal objects. Place your switch near devices that require a wired connection, like desktop computers or network-attached storage (NAS) devices.
- Connecting the Router: Connect the modem (provided by your internet service provider) to the WAN or Internet port on your Wi-Fi router using an Ethernet cable. Then, connect the Wi-Fi router to the power outlet.
- Connecting the Switch: Connect the switch to the router using an Ethernet cable, plugging one end into a LAN port on the router and the other into any available port on the switch. Connect devices requiring a wired connection to the remaining ports on the switch.
- Powering Up: Power on the modem, router, and switch. Allow a few minutes for each device to boot up completely.
Wi-Fi Router Switch Configuration
Now that everything is physically connected, it’s time to configure your network. This involves setting up your Wi-Fi network, securing it with a strong password, and configuring any necessary advanced settings. Here’s a step-by-step guide to Wi-Fi Router Switch Configuration:
- Accessing the Router’s Interface: Connect to the router’s Wi-Fi network (using the default credentials usually found on a sticker on the router) or connect a computer directly to the router via an Ethernet cable. Open a web browser and enter the router’s default IP address (often 192.168.1.1 or 192.168.0.1 – consult your router’s documentation).
- Login: Enter the default username and password (again, usually found on a sticker on the router). It’s crucial to change these default credentials immediately for security reasons.
- Wireless Settings: Navigate to the wireless settings section.
- SSID (Network Name): Change the default SSID to something unique and easily identifiable.
- Security: Choose WPA2 or WPA3 security (WPA2 is still widely compatible).
- Password: Create a strong and unique Wi-Fi password.
- DHCP Settings: Ensure DHCP (Dynamic Host Configuration Protocol) is enabled. This allows the router to automatically assign IP addresses to devices on your network.
- Switch Configuration (Optional): Most switches are “plug-and-play” and require no configuration. However, some managed switches offer advanced features like VLANs (Virtual LANs) that can segment your network for security or performance reasons. Consult your switch’s documentation for configuration instructions.
- Firmware Updates: Check for and install any available firmware updates for both your router and switch. This ensures you have the latest security patches and performance improvements.
By carefully following these steps for Wi-Fi router switch installation and configuration, you’ll be well on your way to enjoying a secure, reliable, and high-performing network for all your needs. Remember to consult your specific devices’ documentation for detailed instructions and troubleshooting tips.
Schedule a free consulting call with a representative
Related Services
There are many different types of website development and digital marketing services available, and the right ones for your business will depend on your specific needs and goals. Here are a few other types of networking and surveillance services:

Networking with WAN/LAN for Office Setup
Whether you have a single office or multiple locations, we can design and implement a network infrastructure that meets your specific needs through our Networking with WAN/LAN for Office Setup expertise.

Windows Server with Active Directory & Email Server
A Windows Server with Active Directory & Email Server setup provides a centralized platform for managing users, resources, and communications within your organization.
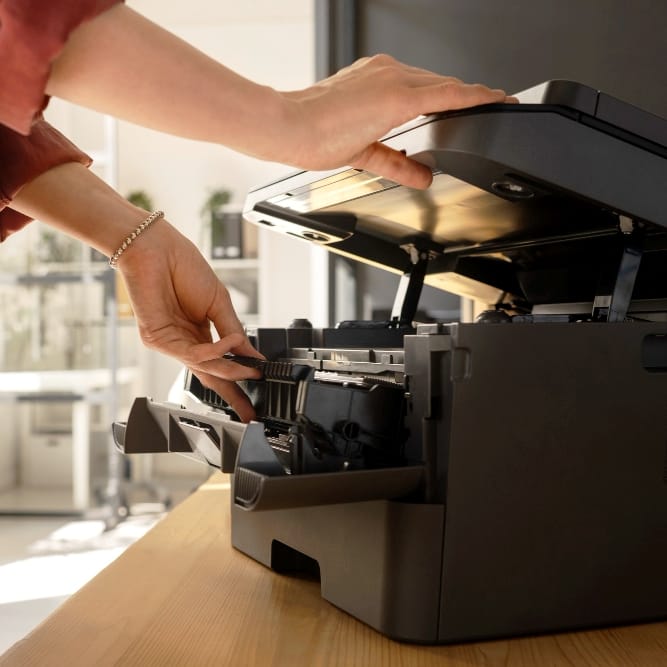
Printer Installation & Configuration
In any office environment, reliable printing is essential. Our Printer Installation & Configuration services ensure seamless integration of printers into your network. We take the hassle out of printer setup and maintenance.